Showing posts with label Thank you Card. Show all posts

Tuesday, August 8, 2017

LAYERING LEAVES THANK YOU CARD

Hello Stampers!

I apologize for not getting a video out today, but the weekend really goes fast. I'm spending a lot of my weekend enjoying my Mom right now. In fact, I have to share a picture with you. I shared it on my Facebook page, but it gives me a warm fussy feeling when I saw this picture that my sister posted while she was visiting my Mom yesterday. So my Mom loves to sit by this window everyday. It's really pretty, with flowering trees and flowers she can see. Yesterday, My sister said this bird came and sat on the window and was just looking in the window. The funny thing is he was there for about thirty minutes. My Mom truly enjoyed his visit. I've asked several people if they knew what kind of bird it is, since we've never seen one before, and no one seemed to know. If any of you know, would you leave me a comment. Just curious! He's so pretty!


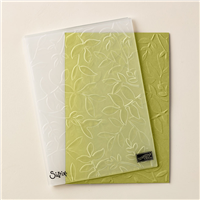
Just had to share! Now on with the card. This is a Quick and Easy Card with a little bit of Quick Coloring while I was playing with this New Layering Leaves Dynamic Embossing Folder. 


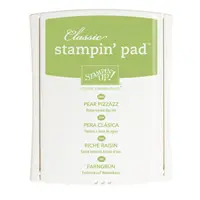
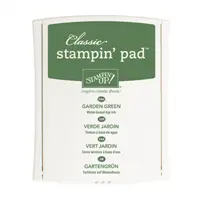
These Dynamic Embossing folders are awesome. The dimension you get with them is gorgeous. I just ran the Layering Leaves through the Big Shot on Whisper White Thick Cardstock. I colored it by simply running the Embossing folder over a Pear Pizzazz and then a Garden Green In Pad. I just added the color by tapping it directly on the ink pad. The picture doesn't even do it justice, The color and the dimension is really pretty.

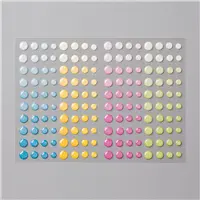
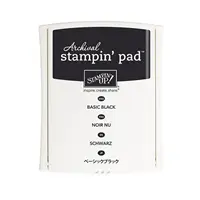
I then Stamped a Thank You Sentiment on another piece of Whisper White with Basic Black Archival Ink and added to the front of the Card and added some Glitter Enamel Dots.


MEASUREMENTS:

Whisper White Thick Card stock for base which measures 5 1/2" x 4 1/4"
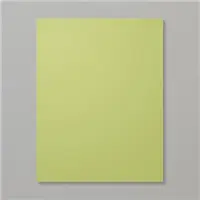
Pear Pizzazz for Mat piece measures 5 1/4" x 4"
Stamped Piece is 5" x  3 3/4"
Sentiment Piece is 1 1/2" x 5 1/4"

AUGUST HOSTESS CODE: 6FJ2ZBE4

THANK SO MUCH EVERYONE!

HAVE A SUPER BLESSED DAY!

SUPPLY LIST:

Tuesday, June 27, 2017

COLOR THEORY THANK YOU CARD

Hi Stamping Friends!

I'm still playing with the Coffee Cafe Bundle, Believe it or not! I decided to take a short break from it to create this Color Theory Thank You card! This designer series paper is so versatile. I have made Bookmarks, Cards and 3-d items with it. Here is another Quick Thank You card to create with this DSP! #stampinupcards, #thankyoucards, #colortheorydsp, #handmadecards


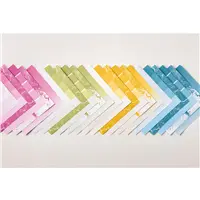
So look at all he pretty Colors we have,Crushed Curry, Berry Burst and Dapper Denim.This stack also have Old Olive. It almost looks like I layered all the Colors, but it is fact one sheet of designer series paper. A fun one to create!


MEASUREMENTS:

Whisper White Card Base is 5 1/2" x 4 1/4"
Color Theory designer series paper measures 4" x 5"


THIS MONTH'S HOSTESS CODE ENDS FRIDAY. IF YOU ORDER LESS THAN $150.00 USE THIS HOSTESS CODE: TMUGDPBR


SUPPLY LIST:


Wednesday, June 21, 2017

COFFEE CAFE THANKS A LATTE CARD

Hi Stamping Friends!


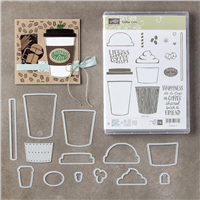
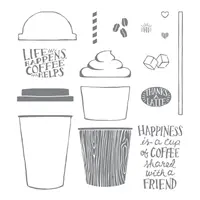
Oh my! I'm telling you, This New Annual Catalog is filled with goodness! I created the Coffee Cafe Thanks a Latte Card using the New Coffee Cafe Bundle! Can't find the Words to describe this Stamp Set! The card I created is a Simple Card. I really wanted to showcase how you can just cut out the pieces and put together a sweet Thank You Card. I also used one of my favorite stamp sets, the Timeless Textures, which has the coffee rings I used in this card. #stampinup, #coffeecafebundle, #stampingwithamore, #coffeecafestampset


Just a simple Whisper White Card base. I didn't want to take away from the cute cup. Are the coffee beans not adorable! You can't really see the hand embossing I created, but you will see it in the video. A easy way to dress up any card. I have so many ideas for this stamp set. My mind is reeling!


THIS MONTH'S HOSTESS CODE IS: TMUGDPBR

MEASUREMENTS:
11"x 4 1/2" Scored at 5 1/2" for card base.

Hope you all enjoy!

Have a Wonderful Day!


SUPPLY LIST:

Wednesday, June 14, 2017

BEAUTIFUL BOUQUET THANK YOU CARD

Hi Stampers!

I'm sharing a Card using the New Sheet Music Background Stamp! I love Background stamps, because they make it easy to create so many different looks. You can stamp all of the Stamp or parts of the stamp and get completely different looks. I have so many ideas for this background stamp.  I'm also using the New Beautiful Bouquet Stamp Set. #stampinup, #stampingwithamore, #beautifulbouquetstampset, #sheetmusicstamp


Here are the Two Cards I created. On the right is Berry Burst and The left is Fresh fig. On the Berry Burst, I decide to add Clear Wink of Stella and after a few minutes, it turned white! I really don't like the look. At first it was really nice. I don't suggest using it, unless you like the look! It seems to have reacted with the ink. It kind of baffles me, because I have added over inks before and it was fine. If anyone has the answer, leave me a comment please!


I love the way both colors came out, (without the Wink of Stella) Which is your favorite color. The Fresh Fig is really a beautiful rich Color. I'm loving it!


MEASUREMENTS:

Crumb Cake Basic Card Base 5 1/2" x 4 1/4"
Fresh Fig Mat piece is 5 3/8" x 4 1/8"
Crumb Cake Stamped piece is 5 1/4" x 4"


SUPPLY LIST:

Wednesday, March 15, 2017

THANKS A BUNCH THANK YOU CARD

Hello Stamping Friends!

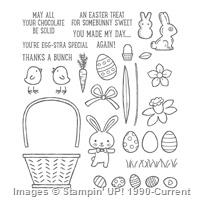
I'm super excited to share today's card. Thanks a Bunch Thank You Card! This stamp Bundle is actually a Easter Stamp Set, but so versatile you can make so many other Occasion Cards with it, including this Thank You Card. I told you the Monster from the Yummy in My Tummy Stamp Set #143623 was the cutest. I have to say, this little Bunny is tough competition! Lol!

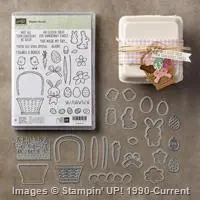
Get the Basket Bunch Bundle #144731 during Sale-a-bration, so you can get a FREE item from the Sale-a-bration brochure!


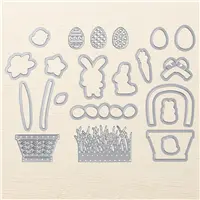
Okay, How adorable is this little guy? No fussy cutting with this stamp set, because it has coordinating Framelits! WooHoo! Love!!!

Since there is a video for this card and no actual measurements, except for your card base, which is the typical 5 1/2" x 4 1/4", there will be no Project Sheet.

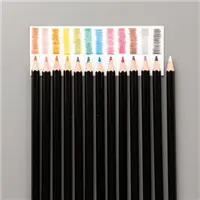
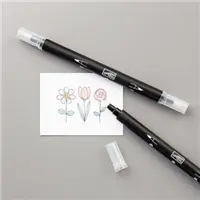
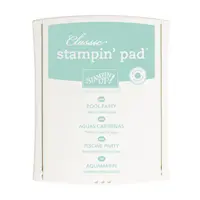
I colored all the flowers and the bunny using my Watercolor pencils, and a Blender pen. The background is done with Pool Party and a Stampin'Up sponge. All you need is a light touch for this technique. I wish someone would have given me this tip a long time ago, but I finally figured it out for myself. I struggled so long trying to get it just right. I finally think I got it!. 

If you ever have any questions on a stamp set or technique, Please do not hesitate to comment or contact me. I would be glad to help!


SUPPLY LIST: