Pages

Wednesday, November 29, 2017

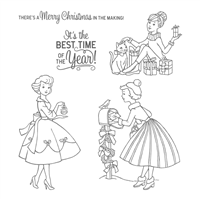
CHRISTMAS IN THE MAKING CHRISTMAS CARD

Hi Stampers!

How is everyone's week going? I hope well! I'm actually counting down the months until retirement from my real job, so I can do more of my Stampin'Up. Paper Crafting here I come! It's a bit scary. because I've never been without a "real" job since I was fifteen! Except for when I had my son for a year or so! The journey continues, and I'm on board for the ride!

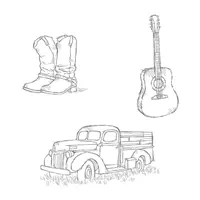
This Christmas in the Making Christmas Card is one I had in my head for a while. I totally forgot I had the County Livin' Stamp set which has the Truck in it. Im totally into this Truck and Tree thing that seems so popular right now. I'm a New Yorker by Birth, But I think I have a Bit of Country in me! Wasn't that a Donny and Marie song? I'm a Little Bit Country, your a Little Bit Rock n Roll?
Oh Boy, I'm really showing my age now! Lol! On with the Card!


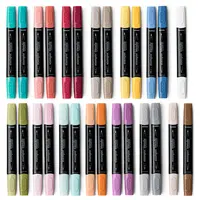
I couldn't Think of what to call this Card, since I loved the sentiment in the front also. The Truck is so super cute, and I love coloring with the New Stampin Blends. I'm researching how to do some fancy coloring with them. But, just coloring in a simple way looks awesome too and they do BLEND so well. Love these new alcohol Markers and I'm crazy about the Truck and the Tree!

MEASUREMENTS:
Whisper White Thick Card stock for card base measures 8" x 6"
Score on the 8" side at 4" to make a 4" x 6" Card Base.
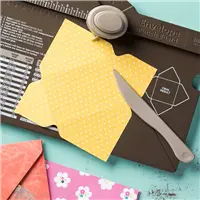
Envelope was made with Real Red Cardtock using the Stampin'Up Envelope Punch Board.


THANKS SO MUCH FOR STOPPING BY!

THE NEW HOSTESS CODE WILL BE POSTED TOMORROW!

HAVE A GREAT NIGHT!


SUPPLY LIST:

Tuesday, November 28, 2017

QUICK & EASY CHRISTMAS GIFT JARS

Hello My Sweet Stamping Friends!

I hope everyone had a Wonderful Thanksgiving! I loved every minute, but glad that it's over! We had 24 people over and it was a lot of work!. No time for Paper Crafting! LOL! Thank goodness my Hubby, Daughter in  law and Granddaughter helped with the clean up. I'm grateful for them. We did get to bring my Mom over and she really enjoyed the day! It was a Blessing!

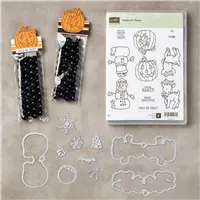
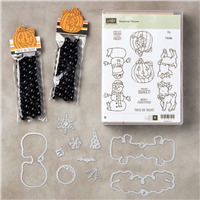
This is the Christmas Gift Jars I was suppose to share last week and totally forgot getting ready for Thanksgiving. They are using the Seasonal Chums Bundle. This time I'm using it as a Tag. I love this little Snowman and Reindeer! If you saw my Sunday post, you know how I love Snowmen! If you didn't see it, Check out my You Tube channel for the Snowman Treat Box. https://youtu.be/Pd-bnqzGq5k


These are the Two I made! So super Quick & Easy! We can all use some Quick & Easy during the Holidays, Right? One is a cheaper version using a Dollar Tree Mason Jar, the one on the Left with the reindeer. The one on the Right with the Snowman is using a Mason Jar I found at my local Walmart. It's a little fancier and I love the style of it. I used the Stampin' Blends to color the Seasonal Chums! Put them on your Christmas List so Santa can bring you them! The Stampin Blends are sold separately too, I just listed the complete set, because that's what I used for this project!


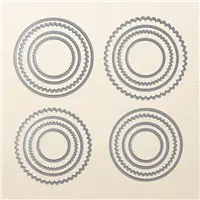
There are no measurements for these jars only that I used my Layering Circles for the Top of the jar.


SUPPLY LIST:


Sunday, November 26, 2017

FESTIVE SNOWMAN TREAT BOX

Hi My Sweet Stamping Friends!


JUST RELEASED! FREE SHIPPING ON ALL STAMPIN'UP ORDERS TOMORROW, CYBER MONDAY! WOOHOO! 

This is the Perfect time to stock up!! This is the time of year I always stock up on card stock and all my basic goodies. Love FREE SHIPPING! It's for 24 hours only!

For those of you who are in the States, I hope you all had a Great Thanksgiving! Mine was a house full! It was a crazy busy week, preparing for my family, but It was a Great Day! 

I'm super excited to share this Festive Snowman Treat Box with you! Then again what Box am I not excited to share! Only I had this Box in my head for some time, and I had to figure out how I was going to make his hat. This was the easiest way I could share it with you, and you know I love easy.


So the story behind the different Hat band is that, I wanted to do a Garden Green, then I thought what would it look like if I added some bling to his hat. So I went to the expert! (LOL) my hubby. He chose the Real Red Glimmer Paper. I guess woman are not the only one's who like Bling! 
What's Your Favorite? Leave me a comment!! 

MEASUREMENTS:
  • Thick Whisper White measure 8 1/2" x 9".
  • Score on the 9" side at 3" and 6".
  • Score on 8 1/2" side at 3" and 5 1/2".
  • Basic Black for Hat Top measures 5" x 4 3/4".
  • Score 1" on all four sides.
  • Basic Black for Hat Rim, 2 pieces 3" x 1" and 2 pieces 2 3/4" x 1".
  • Score each piece in half at 1/2".
  • Garden Green or Real red Glimmer Paper for Hat Band measures 1/2" x 12".
  • Leaf Punch for Nose using Pumpkin Pie.
  • 1/2" circle Punch using Blushing Bride for Cheeks.


THANK SO MUCH FOR STOPPING BY TODAY!

I WISH YOU ALL A BEAUTIFUL SUNDAY!


SUPPLY LIST:

Wednesday, November 22, 2017

SPIRIT OF THE SEASON CHRISTMAS CARD

HI STAMPERS!

Omg! I totally forgot to post my project yesterday! I've been so busy getting ready for a House Full of Family, 24 for dinner, I totally forgot I had to post my Video! Yikes! I'm going to go ahead and post the Spirit of the Season Christmas Card I planned for today. I will post the Project I made for yesterday another day this week. So watch for it, It's a cute one!

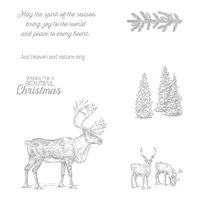
If you have followed me for very long, you know I love creating Wreaths using different stamps. This Christmas Card is done using the Pine Sprig from Nature Sings Stamp Set. I love all the Embossing on this card. It gives this card a more elegant look. I also made a coordinating envelope using the Stampin'Up Envelope Punch Board.


Here is a closer look of the embossing! So Pretty! This technique of using different stamps in your stamp sets is so fun. You can get a unique look each time. And just think how it gives you just another way to use your stamps.


MEASUREMENTS:
  • THICK WHISPER WHITE FOR CARD BASE MEASURE 5" X 10".
  • SCORE AT 5" FOR A 5" X 5" CARD.
  • GOLD FOIL SHEET MEASURES 4 3/4" X 4 3/4"
  • WHISPER WHITE PIECE FOR STAMPING MEASURES 4 1/2" X 4 1/2".
  • USE A 3" CIRCLE FOR MEASURING THE CENTER OF YOUR WREATH.


SUPPLY LIST: